 OfficeOne PowerViewer
Tutorial
The following tutorial provides step-by-step instructions to use PowerViewer.
Setting up PowerViewer
When using PowerViewer for the first time, you may need to tell
PowerViewer the path to the free Microsoft PowerPoint Viewer that you installed on the machine.
The free PowerPoint Viewer 2010 can be downloaded from
here and PowerPoint Viewer 2007 can be
downloaded from
here.
Follow these steps to confirm that the path to PowerPoint Viewer on your machine is set properly:
Step 1: Select the Settings tab.
Step 2: Check the PowerPoint Viewer box. It should show
the full path to the PowerPoint Viewer file name (pptview.exe).
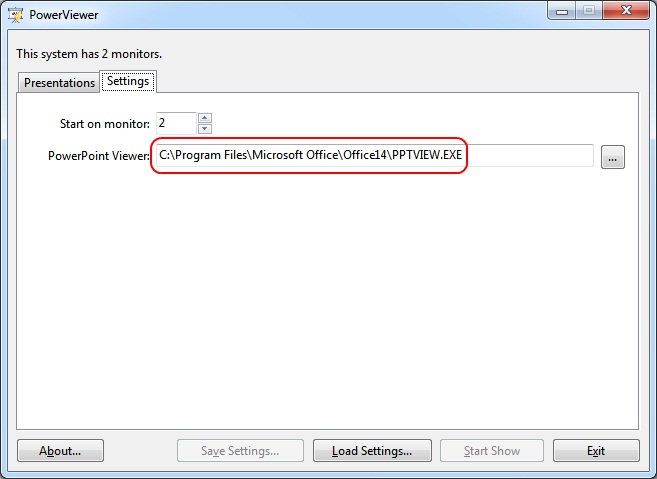
Step 3: If the box is empty, click the
 box next to it. Locate and
select the PowerPoint Viewer 2003 file (pptview.exe) from the folder
where you had installed it.
box next to it. Locate and
select the PowerPoint Viewer 2003 file (pptview.exe) from the folder
where you had installed it.
Viewing Slide Shows through PowerViewer
After setting up PowerViewer, you can use it for displaying slide
shows and access all the features of PowerViewer. The following steps
show how to set up a presentation to show continuously:
Step 1: Select the Presentations tab.
Step 2: Click Add... button. Locate and select your
presentation file and click Open button.
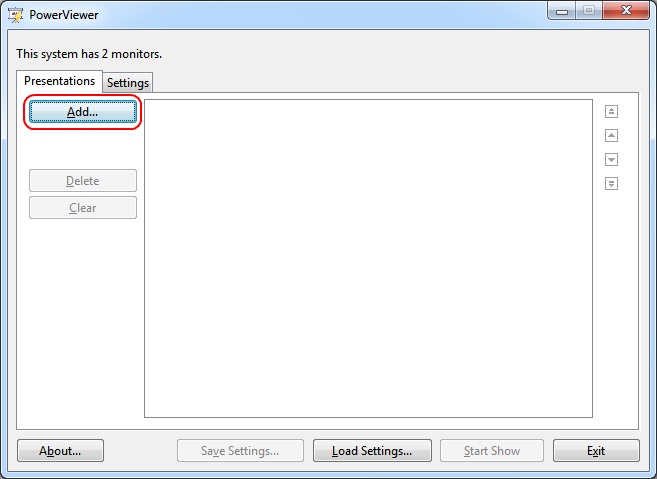
Step 3: You would find your presentation file listed in the Presentation file box:

Step 4: Click Start Show button.